Okay, so today I decided to dive into the world of “all-star rings baseball.” I’d seen some stuff online and was curious about making one myself, you know, just for fun. First, I needed a game plan, so I started sketching some ideas on paper. Nothing fancy, just doodling different designs and shapes.

Getting My Hands Dirty
Next up was gathering materials. I hit up a local craft store and grabbed some polymer clay, the kind you bake in the oven. I also picked up some small, round molds. I figured those would be perfect for the base of the rings. I got clay in different colors,mainly red, blue, and white, classic baseball colors.
Crafting the Base
I rolled out the clay and pressed it into the molds. I am not gonna lie, my first few attempts were pretty rough. The clay kept sticking, or I’d make them too thin. It took a few tries to get the hang of it, but I finally managed to get some decent-looking bases.
Adding the Details
This is where it got trickier. I wanted to add some tiny baseball details, like stitching or a little star. So, I used a toothpick and some very thin rolls of clay to carefully create the stitching lines on some of the rings. For the stars, I used a tiny star-shaped cutter I found in a baking set. It was a bit fiddly, but it worked!
Baking and Finishing Touches
Once I was happy with the designs, I carefully placed them on a baking sheet and popped them in the oven. I followed the instructions on the clay package for the temperature and time. I even setting a timer so I would not burn the rings.
After baking, the rings were cooled completely. After that, I gently sanded down any rough edges.
My Little Trophies
I made a few different designs, some simpler than others.
- One with just red and white stitching.
- Another with a blue base and a tiny white star.
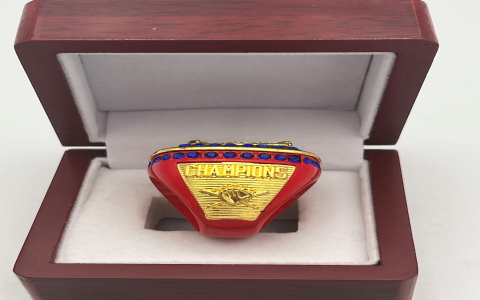
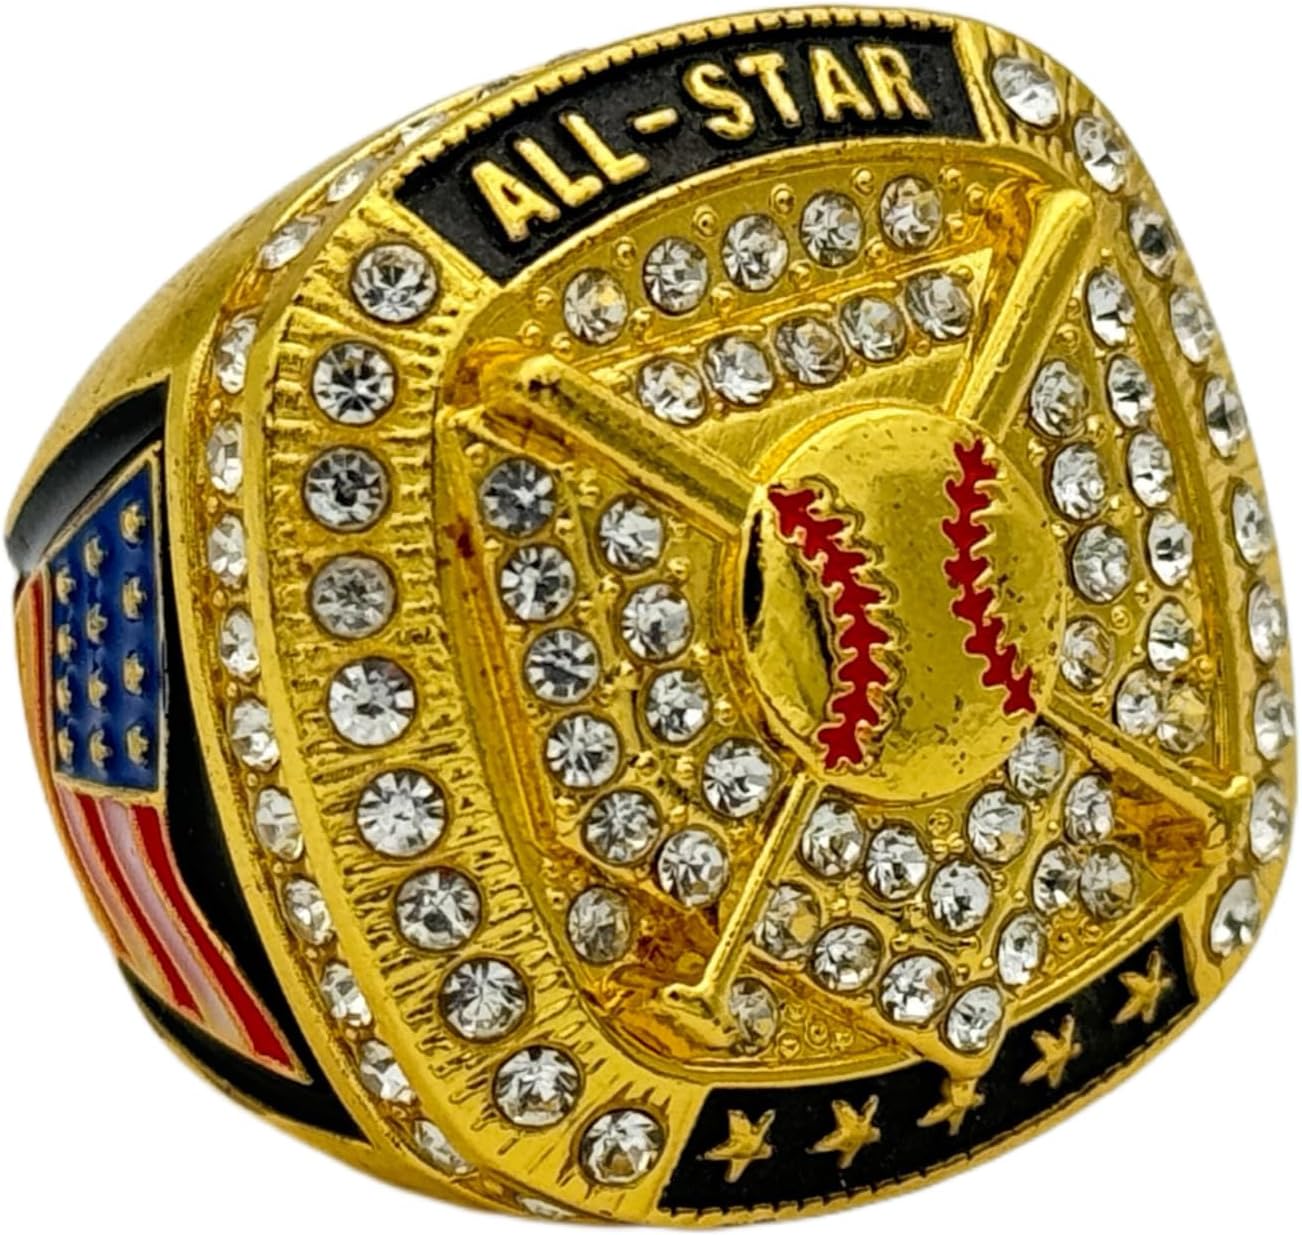
- And, my favorite, one with a mix of all three colors, trying to mimic an actual All-Star logo (though it’s definitely not perfect!).
They’re not perfect, but I’m pretty happy with how they turned out.


