Okay, so check it out, today I’m gonna walk you through this little side project I tackled: making a MLB referee hat. Yeah, a real-deal, looks-like-it-belongs-on-the-field referee hat. It was a fun little challenge, and I learned a ton along the way. Here’s the breakdown:
First things first: Inspiration & Research
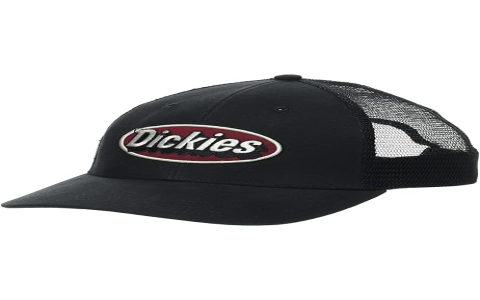
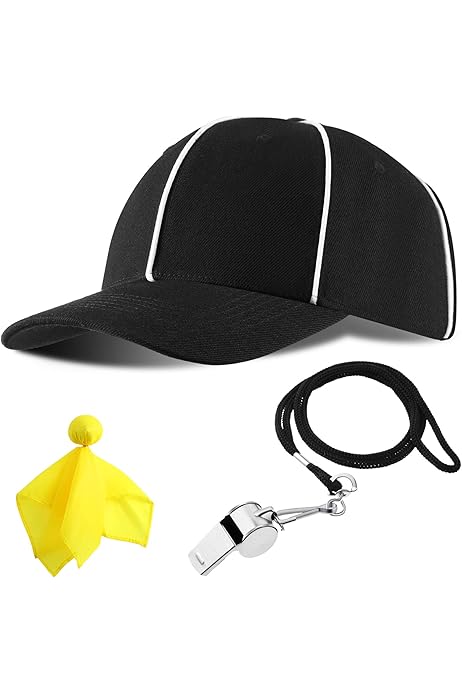
- Started by deep-diving into images of actual MLB umpire hats. I mean, gotta know what you’re aiming for, right?
- Noticed the specific details: the shape, the logo placement, the material texture. All that jazz.
Gathering the Goods
Shopping time! I needed:
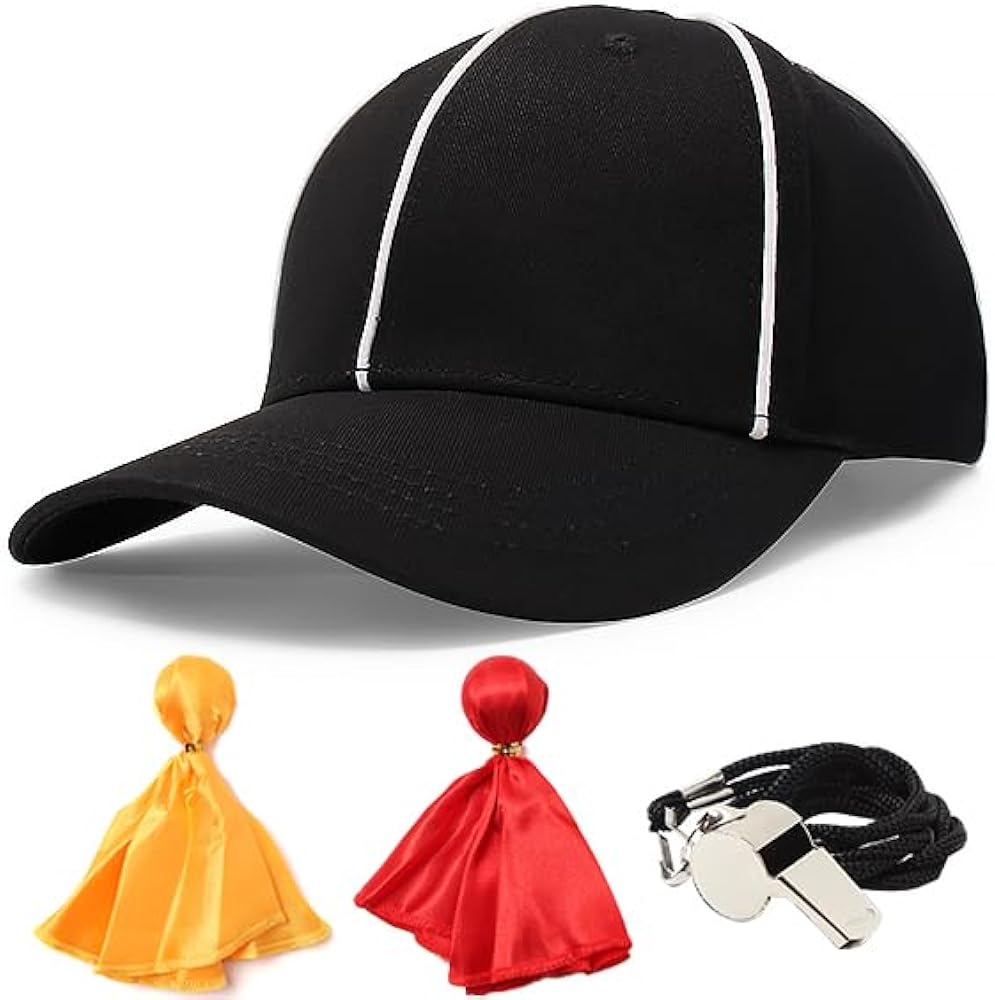
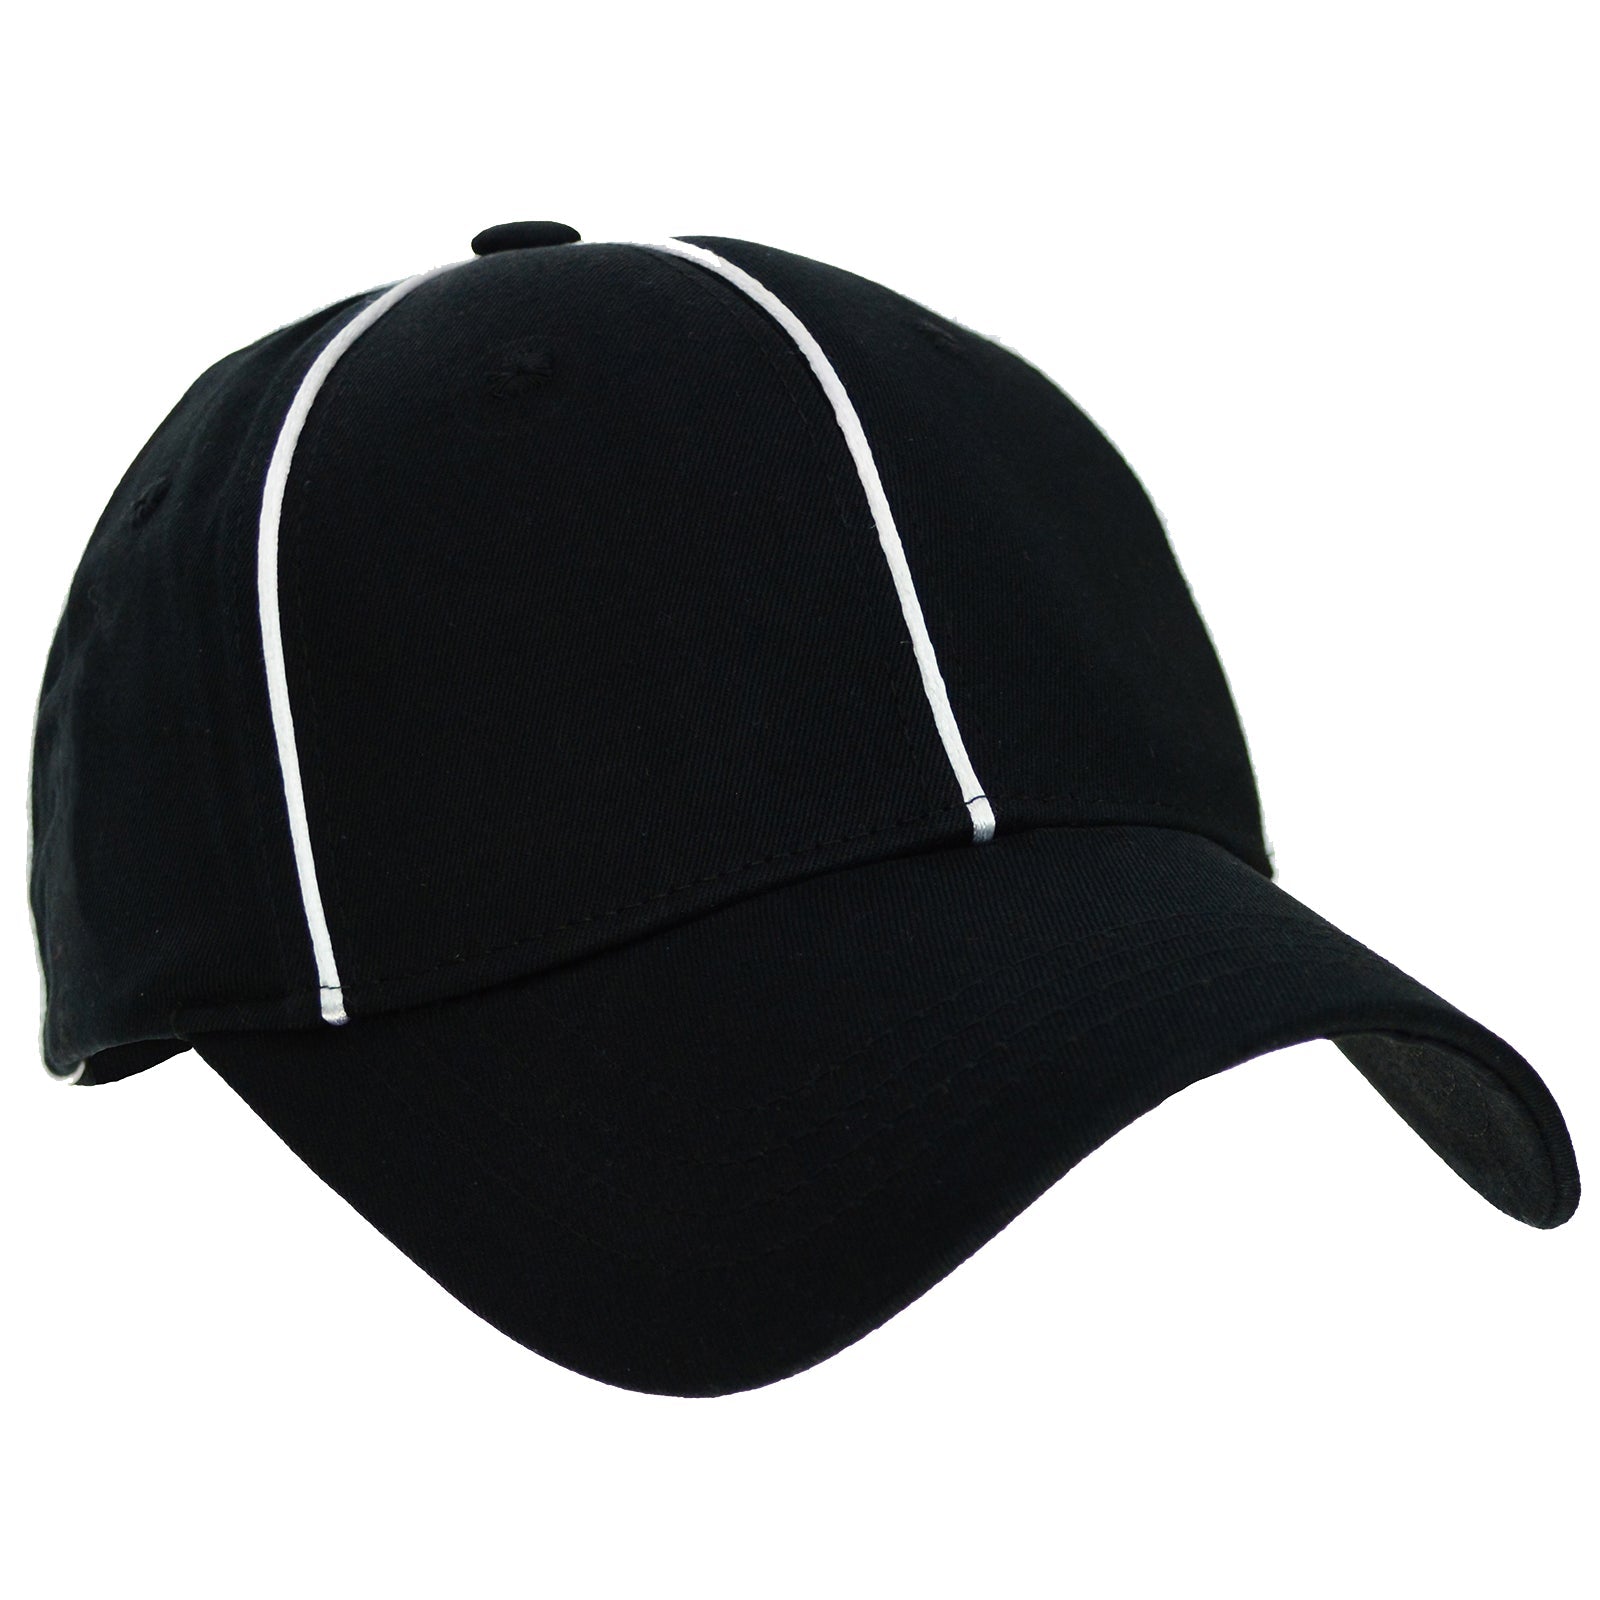
- A blank baseball cap: Found a decent one at a local sports store. Nothing fancy, just a plain black cap.
- White fabric paint: Gotta get that iconic white stripe on there.
- Painter’s tape: For clean lines, duh.
- Stencils: To get the “MLB” logo just right.
- Brushes: For painting, obviously.
- Clear coat sealant: To protect my masterpiece from the elements.
The Making Of: Step-by-Step
1. Taping It Up
Took the painter’s tape and CAREFULLY masked off the area where the white stripe would go. This was the most nerve-wracking part. A steady hand is key!
2. Painting the Stripe
Applied several thin coats of the white fabric paint. Let each coat dry completely before adding another. Patience is a virtue, folks!
3. Logo Stenciling
Positioned the MLB stencil on the front of the cap. Made sure it was centered and secure. Then, dabbed on the white fabric paint using a stencil brush. Less is more here – you don’t want bleeds.
4. Peeling and Praying
Once the paint was completely dry, I slowly and carefully peeled off the tape and the stencil. Fingers crossed for clean lines! Luckily, it turned out pretty good.
5. Sealing the Deal
Sprayed the whole hat with a clear coat sealant. This protects the paint from cracking, fading, and general wear and tear. Plus, it gives it a nice, professional finish.
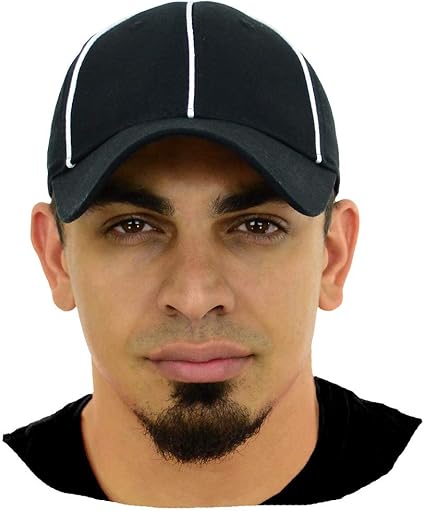
The Result?
Not gonna lie, I was pretty stoked with how it turned out. It’s not perfect, but it definitely looks the part. Wore it to a baseball game last weekend, and got a few compliments. Definitely a conversation starter!
Lessons Learned
- Fabric paint is your friend.
- Patience is key – rushing leads to mistakes.
- Good stencils make a world of difference.
All in all, it was a fun and rewarding project. If you’re looking for a unique DIY challenge, give it a shot. Just remember to take your time, do your research, and don’t be afraid to experiment. Happy crafting!


