Alright, guys, so I’ve been seeing a lot of buzz around Corpse Husband lately, and you know I love diving into anything creative. So, I decided to try my hand at some “corpse husband face artwork.” Now, I’m no professional artist, but hey, it’s all about the process, right?

Getting Started: The Inspiration
First things first, I needed some inspiration. I spent a good chunk of time just browsing through fan art online, getting a feel for different styles and approaches. It’s amazing how much variety there is out there! Some people go super realistic, while others embrace a more stylized, cartoonish look. and I find I really like the style of a lot of people, but I don’t know which one is better to start with, so I decided to try more and see what I could do.
Gathering My Supplies (aka Digital Tools)
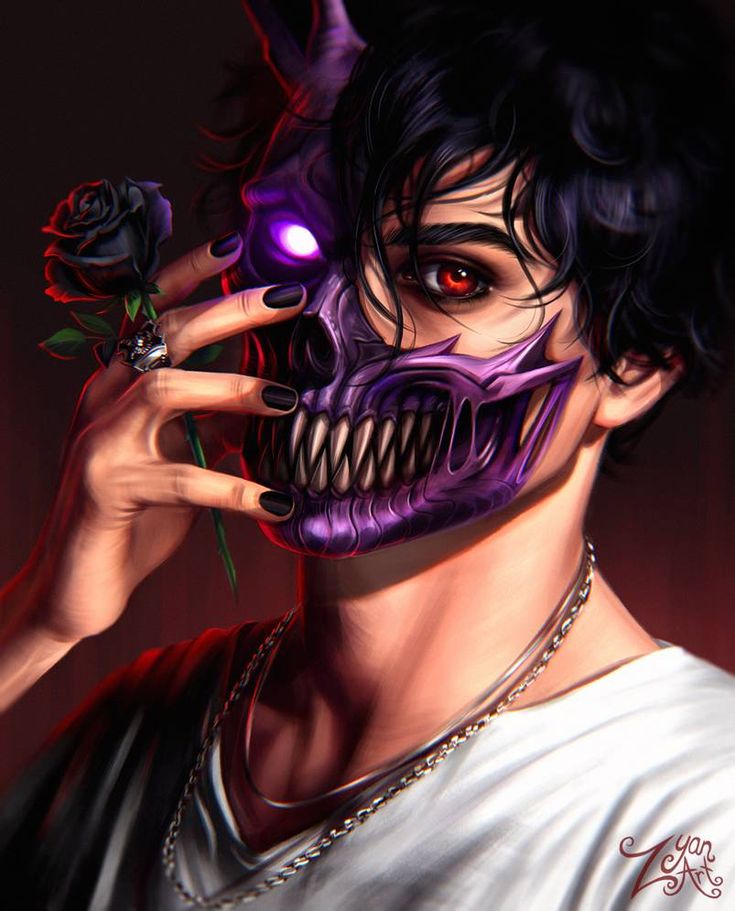
Since I’m more of a digital doodler, I fired up my trusty tablet and stylus. I use this super basic drawing app – nothing fancy, but it gets the job done. I also pulled up a bunch of reference images, mostly focusing on Corpse’s iconic mask and that one visible eye. You gotta get those details right, you know?
- Tablet: My old reliable. It’s got some scratches, but it works!
- Stylus: Nothing fancy, just a basic one.
- Drawing App: Super simple, but effective.
The Sketching Process: Trial and Error
Okay, this is where things got messy. My first few attempts? Let’s just say they were…interesting. It’s tough capturing that mysterious vibe without making it look, well, weird. I started with a basic outline of the head and mask, then slowly started adding in details. The eye was definitely the trickiest part – getting the shape and that intense gaze just right took some serious tweaking.
I erased and redrew that eye like, a million times. Seriously. My hand started to cramp up! But I kept at it, experimenting with different shading techniques to give it some depth. I wanted it to look like it was peering right out of the screen, you know?
Adding the Details: Mask and Hair
Once I was (somewhat) happy with the eye, I moved on to the mask. This part was actually kind of fun. I played around with different textures, trying to make it look like fabric or leather or…whatever that thing is made of. I added some subtle shadows and highlights to give it some dimension.

Next up was the hair. From what I’ve gathered, Corpse has some pretty awesome, dark, wavy hair. I tried to capture that flowy texture, using quick, loose strokes. I’m not gonna lie, it took a few tries to get it looking even remotely natural. Hair is hard, man!
The Final Touches: Refining and Tweaking
After I had all the main elements in place, it was time for the finishing touches. I zoomed in and out, squinted at the screen, and made a ton of tiny adjustments. I added some more shading here, a few highlights there, and generally just tried to polish things up.
I also played around with the background a bit. I didn’t want anything too distracting, so I settled on a simple, dark gradient. It helps to make the main image pop, you know?
The Result (and My Thoughts)
So, after hours of sketching, erasing, and tweaking, I finally had something I was…okay with. It’s definitely not perfect, but I’m pretty proud of it, considering I’m just a hobbyist. It was a fun challenge, and it definitely gave me a new appreciation for all the amazing artists out there who create Corpse Husband fan art.
Would I do it again? Probably! It’s a great way to unwind and get those creative juices flowing. Plus, it’s always fun to try something new, even if it ends up looking a little wonky. That’s part of the learning process, right?


