Okay, let’s talk about putting together that wood beer caddy. It turned out to be a pretty straightforward weekend project, actually quite satisfying.
Getting Started
So, I needed a decent way to haul a few beers around – you know, for backyard gatherings or taking them over to a friend’s place. The cardboard carriers fall apart, and buying a fancy one seemed silly. I figured, why not make one? I had some wood scraps lying around in the garage, mostly pine, nothing special.
I didn’t bother with complicated plans. Just sketched out a basic box shape on a piece of paper, big enough for six bottles, with a handle across the top. Simple enough. Measured a standard beer bottle just to get a rough idea for the height and the dividers, though I ended up making mine without dividers this time to keep it simple.
Gathering the Bits and Pieces
Right, so I gathered my materials. Found a decent plank of pine that looked suitable. Needed screws, wood glue – always use wood glue, it makes things much stronger. Grabbed my tools:
- Tape measure
- Pencil
- Hand saw (a jigsaw or table saw would be quicker, but the hand saw works fine)
- Drill (for pilot holes and driving screws)
- Screwdriver bit
- Sandpaper (medium and fine grit)
- Clamps (helpful but not essential if you’re patient)
- Some rags for staining
- Wood stain (had some dark oak leftover)
Oh, and I found an old bottle opener in my junk drawer. Decided that would be a nice touch to add on the side.
Cutting and Building
First up, measuring and cutting. I marked out the pieces on the pine plank: one piece for the bottom, two identical side pieces, two identical end pieces (slightly shorter than the sides), and one piece for the handle. Measure twice, cut once – I try to stick to that, though sometimes I still mess up! Used the hand saw to cut everything out. Doesn’t have to be perfectly perfect, it’s a beer caddy, not fine furniture.
Once the pieces were cut, I did a quick dry fit to make sure everything lined up okay. Looked about right. Then came assembly. I started with the base. Ran a bead of wood glue along the bottom edge of one side piece and clamped it (or just held it steady) to the base. Drilled a couple of pilot holes through the side into the base – this stops the wood splitting when you put the screws in. Then drove in the screws. Repeated for the other side piece.
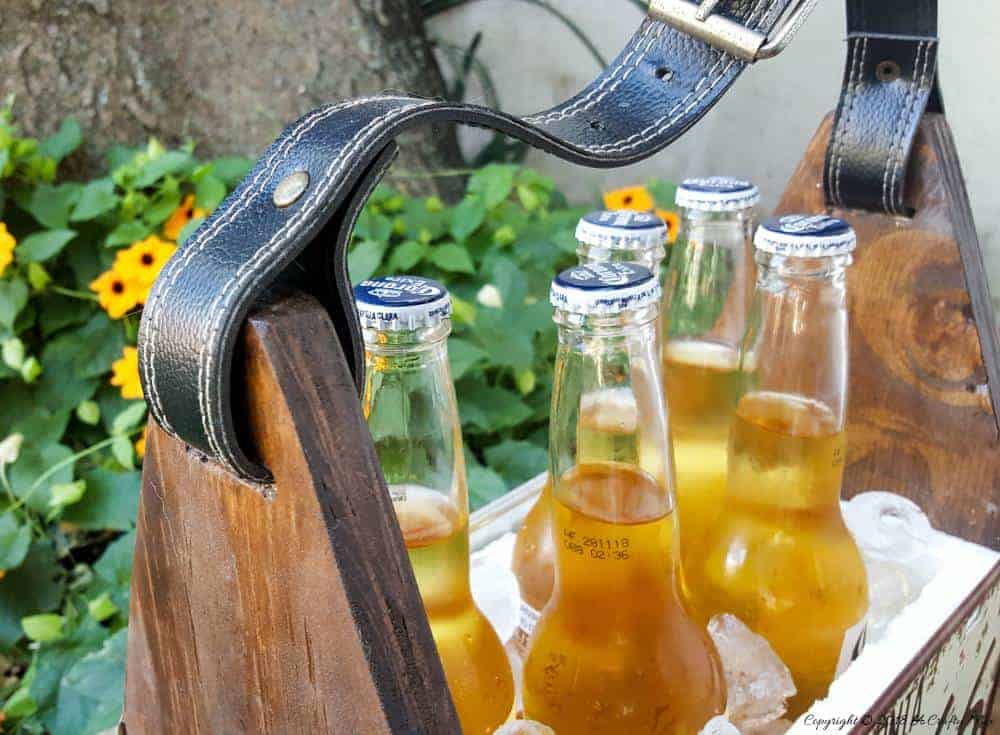
Next were the end pieces. Same process: glue on the edges where they meet the base and the sides, drill pilot holes, screw them in. Now it actually looked like a box. The handle went on last. Glued the ends, positioned it on top of the end pieces, drilled down through the handle into the end pieces, and screwed it down. Gave it a wiggle – felt solid.
Finishing Touches
With the main construction done, it was time for sanding. This part takes a bit of patience but makes a big difference. I sanded all the surfaces, paying extra attention to rounding over the sharp edges and corners, especially on the handle. Didn’t want anyone getting splinters. Started with medium-grit sandpaper and finished with fine-grit for a smoother feel.
Wiped off all the sawdust. Then, applied the dark oak wood stain with a rag. Just wiped it on, let it sit for a few minutes like the instructions said, then wiped off the excess. It gave the pine a much richer look. Let it dry completely.
Finally, I attached that old bottle opener to one of the end pieces with a couple of short screws. Drilled pilot holes for those too, naturally.
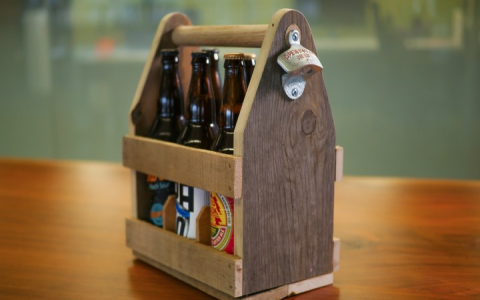
The Result
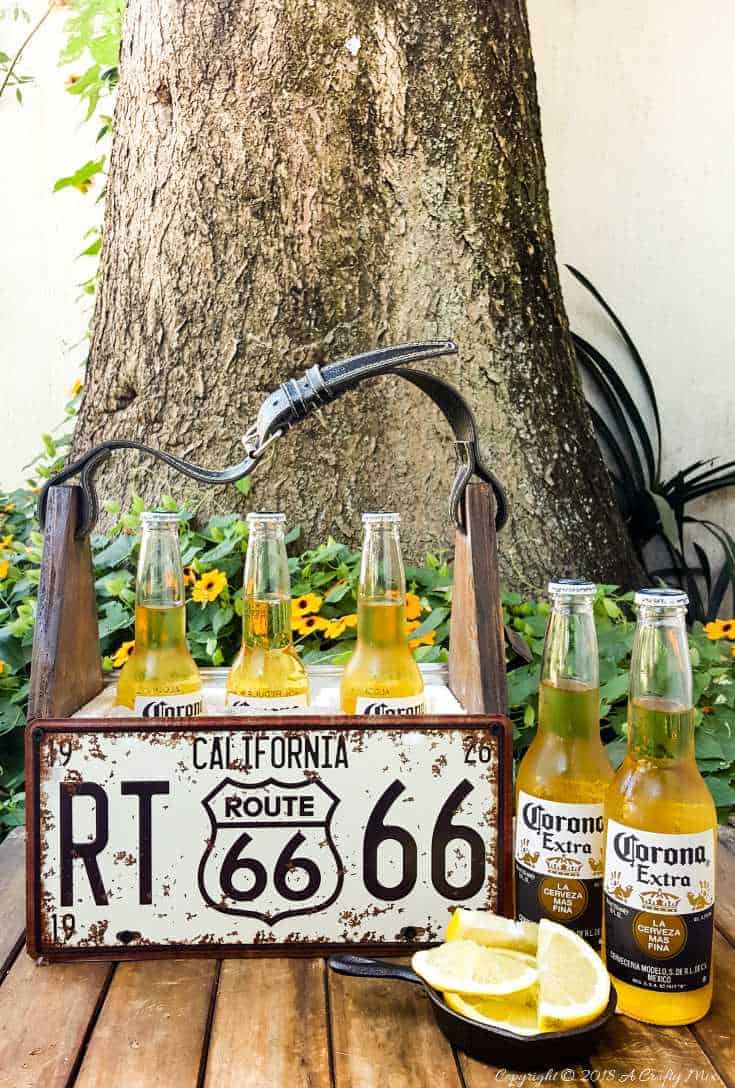
And that was pretty much it. A solid, rustic-looking wooden beer caddy. Took it out for a test run last weekend, loaded it up, carried it across the yard – worked perfectly. The handle felt sturdy, the beers didn’t rattle around too much, and the bottle opener was right there when needed. Honestly, pretty pleased with how it turned out for a quick project using scrap wood. It’s got character, and it does the job. Plus, I made it myself, which always feels good.


